|
#61
 07-10-2022, 06:48 PM
|
|||
|
|||
|
Has been pretty quiet with the CRX of late - have mainly just been driving it. That's not to say nothing has been happening - was cleaning up the car and the engine bay bolts stuck out as being pretty crappy looking -
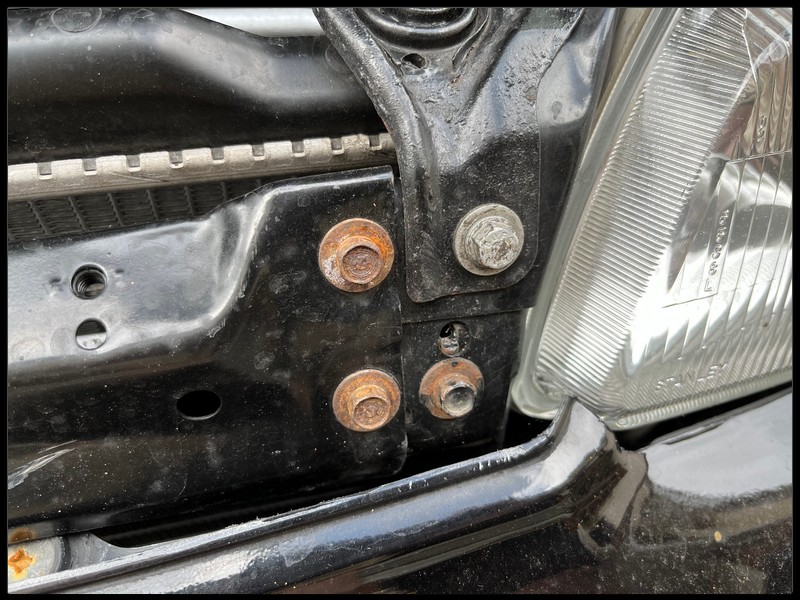 Tried to order new ones from my local Honda dealer, but they're absolutely fcuking useless and go out of their way to be unhelpful - so it was Amayama to the rescue again. These are a stainless version - so shouldn't go too crappy, but have also bought some ACF 50 recently so will give them a quick spray to protect them and other bits. 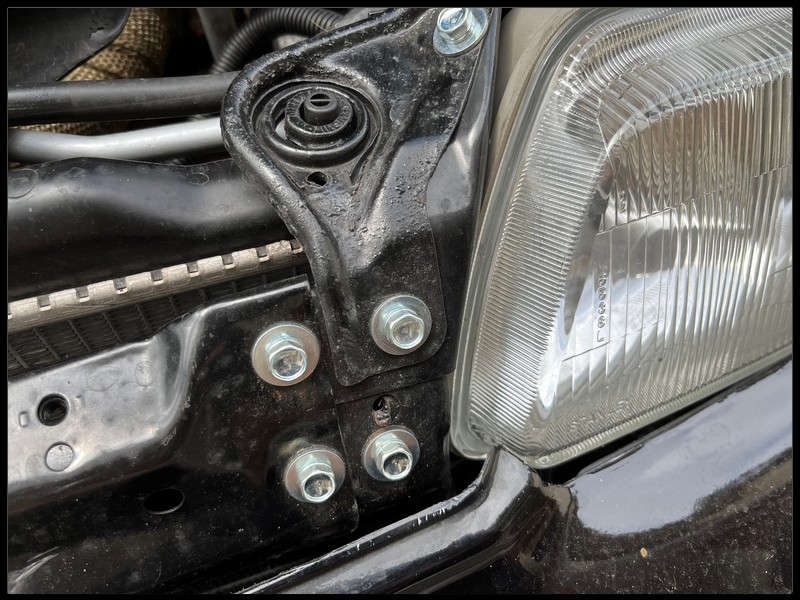 Was also having a goo on Facebook one day and this popped up for sale - its a genuine Mugen rear wing with mounting brackets. Had to spin up to Belfast to collect it, but it was the cheapest I've seen one for a while - even if it did cost as much as the car itself. Waiting for my paint guy to get a bit of time to take it in for paint - theres still some panel alignment to be done as well, so will get it all done in one go. Fitting this doesn't require the top of the bootlid to be drilled - so its reversible if I change my mind on it. 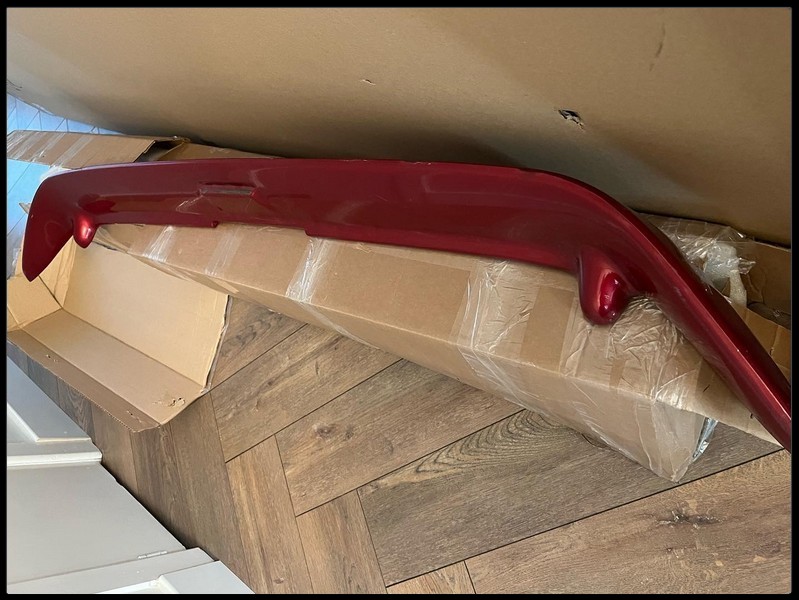 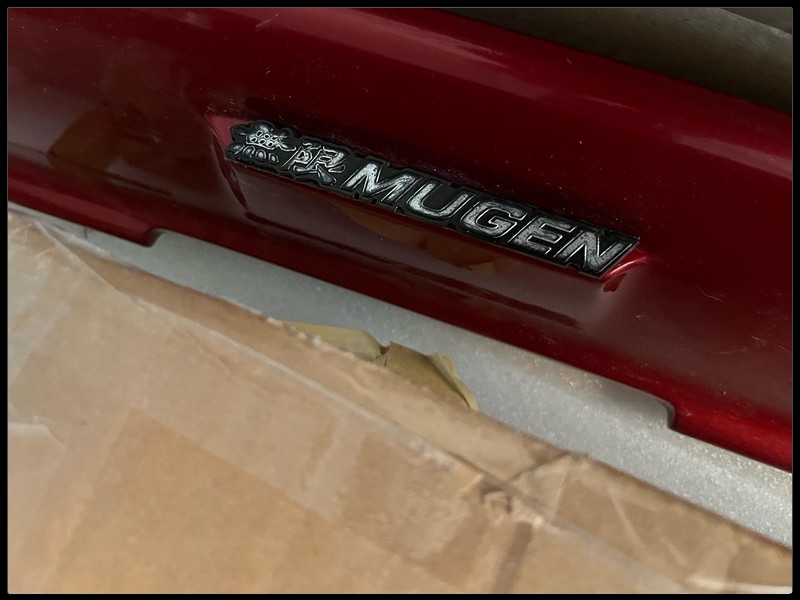 Last bit was also spotted on a facebook trawl, and again up North! The top of my dashboard had a flocked effect on it - which didn't match the doorcards I have. I'm sure it wasn't that noticeable, but it was irritating me. I thought I'd have to get someone to retrim the flocked piece on my existing dash - and was worried that the match would be off. The new dash is in absolutely flawless condition - the guy found it in his attic, where it had been for 15 years. 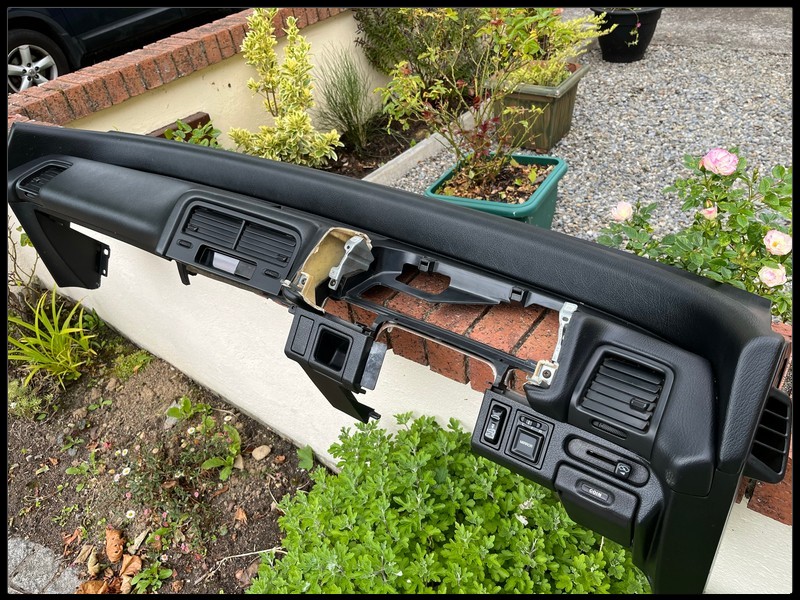 So a 7 hour session yesterday was spent removing the old dash and fitting up the new one. Not an entirely fun job - especially since a lot of wiring had been done since the old dash went in. 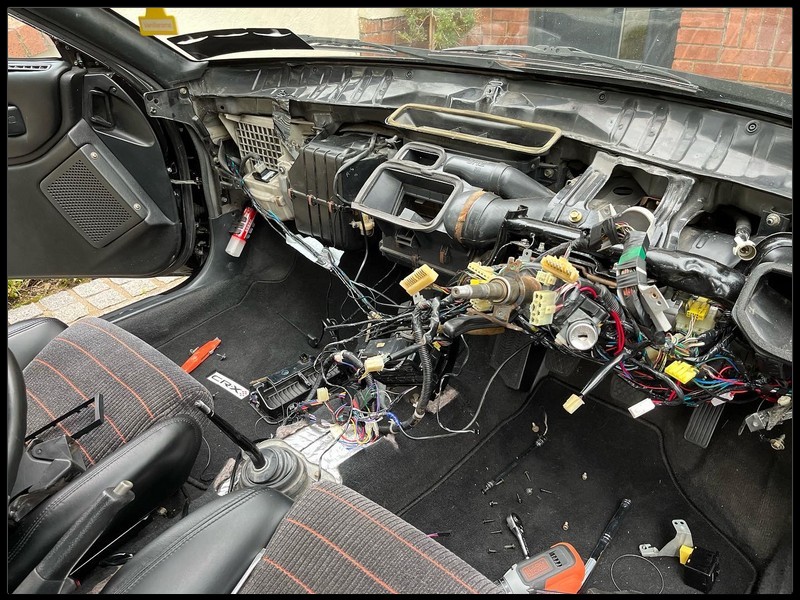 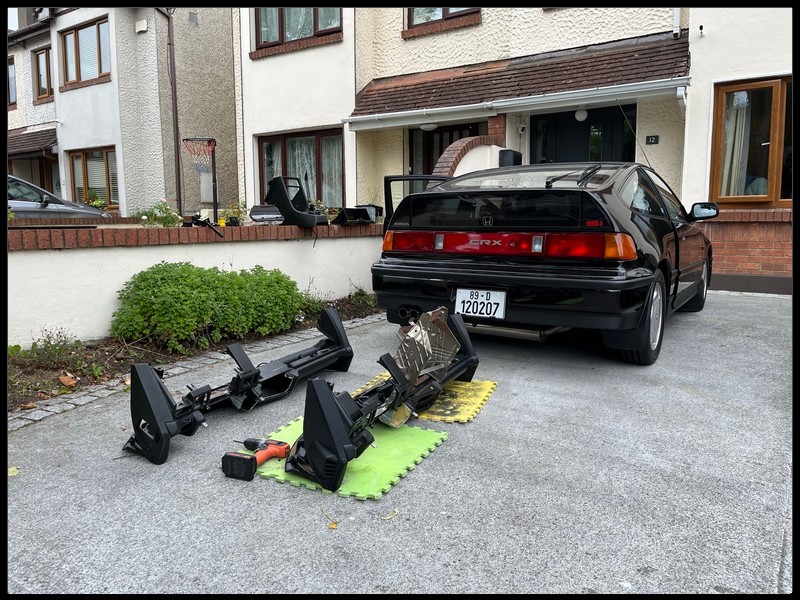 Swapped over some of the bits from the old to the new before refitting - 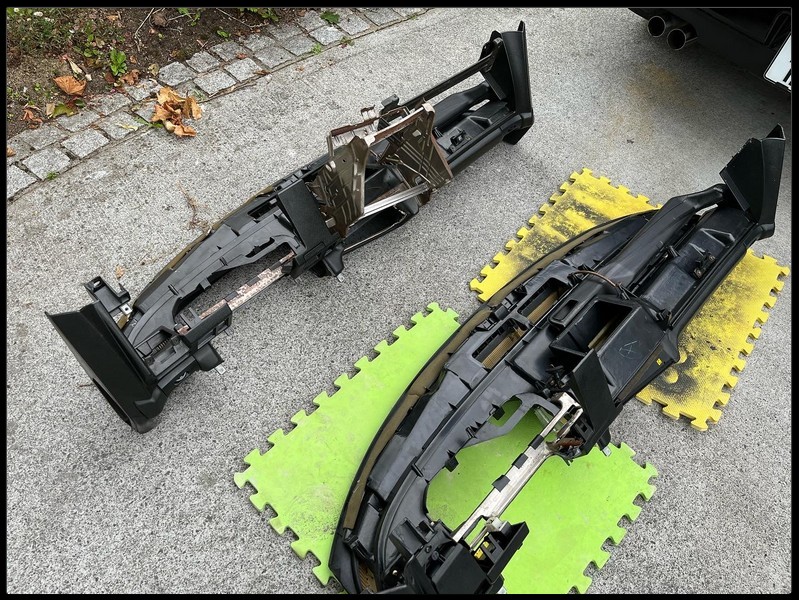 All done - and a few well deserved drinks were had - 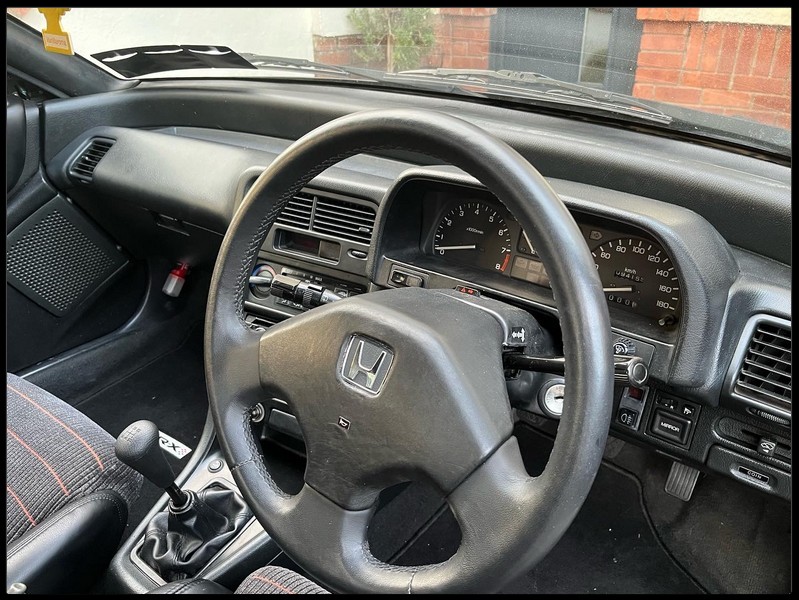 No mismatched flocking and plastic anymore! 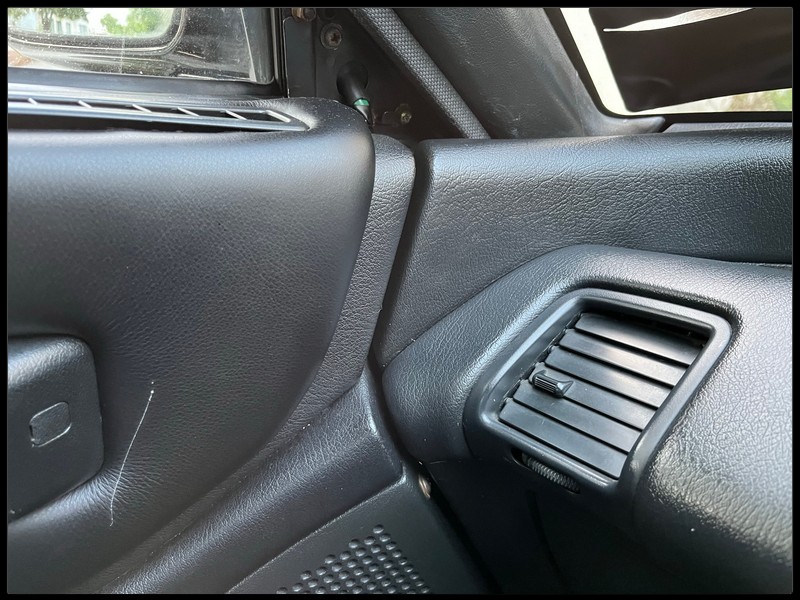

|
|
#62
07-18-2022, 06:11 PM
|
|||
|
|||
|
The Mugen spoiler is the perfect option for your CR-X as it's fully reversible like you say.
Your car is ridiculous photogenic too it looks great there in your drive#128526;
__________________
Paul 91 Torino Red EF8 90 Torino Red EF6
|
|
#64
09-17-2023, 06:53 PM
|
|||
|
|||
|
Few more jobs ticked off this weekend. First up was to get the new spoiler painted and fitted. This is a genuine Mugen item as mentioned previously - part of the reason I like it is that theres no drilling of the bootlid required, so if I decide to remove it at some stage theres no welding holes and repainting needed. Had the painting done by Accident Repair Centre.
Its a two man job really to fit - its goes on with a combination of body tape and two brackets at either end. Wasn't quite as straightforward as I'd expected - the brackets really didn't sit in as flush as I needed, so they were catching the quarter panels. I'd actually painted up the brackets before fitting - but after the adjustments I made to them with a hammer, they'll need a touchup! Took advantage of the nice weather to paint up the brackets first -  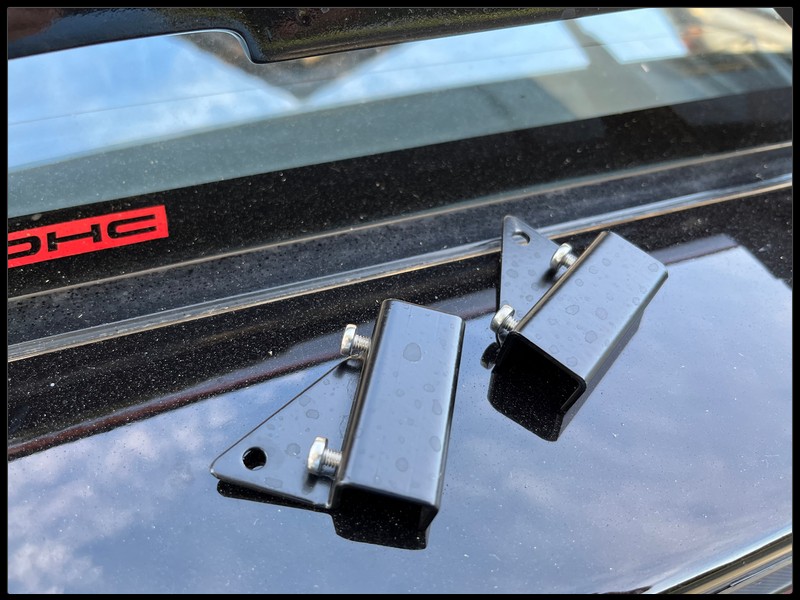 3M VHB tape applied -  Finished results -     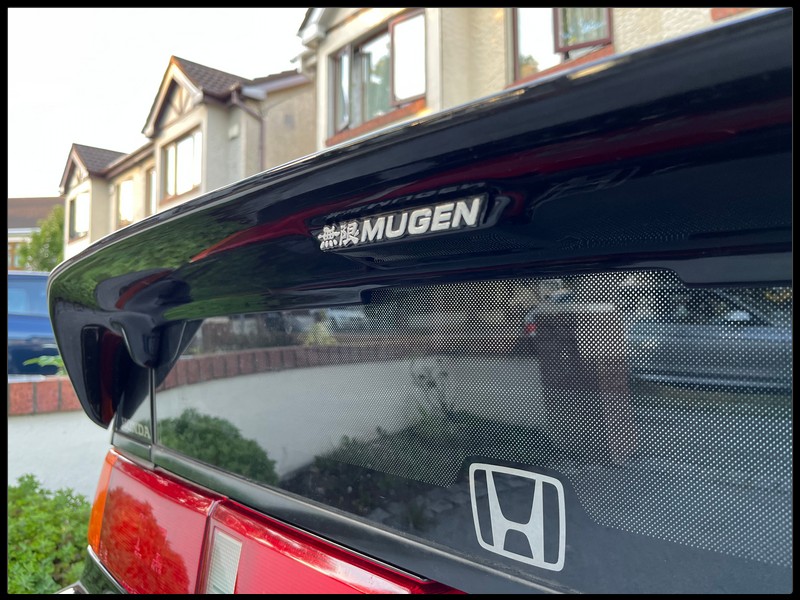 Then popped out this morning to finalise the aircon job. The car had a good bit of the aircon stripped out of it at some stage - the condensor, compressor and some pipework. Had all the fitted up, and I put in new R134 compatible O-rings as well. Had only managed to get a small bit of gas into it with a home recharge kit, and the compressor kicked in - so I knew it was functional. Wasn't sure if there were massive lakes though - so headed out to Auto Aircon in Park West who did the diagnostic - result - it held a vacuum - and then regassed it. Its great to have some cold air inside the car in this weather. They have a good setup - purely aircon servicing, had 5 bays on the go constantly and a queue of people waiting to go in  It also needed a years motor tax - the €56 doesn't really sting though.
|
|
#65
09-17-2023, 06:53 PM
|
|||
|
|||
|
One of the last big jobs to tackle involved reversing my decision on the choice of doorcards. The ones I originally used were VTEC door cards which I had retrimmed in the same leather as the bolsters on the SiR seats. They looked fine - but irked me that they looked a bit mismatched.
 The SiR doorcards unfortunately are not that easy to source, nor cheap - so took a while before I got my hands on a set. Took advantage of the deliverme.ie service I saw linked in here a few days ago to have these shipped from the UK through Newry, which resulted in a very tidy saving. Not so tidy were the doorcards themselves though - both had this damage to the plastics  Pretty frustrating as it wasn't shown in the advert, but it wasn't the end of the world. Thankfully the upper section on these doorcards is removable - so a few metal tabs need to be folder back and out it pops. Leather VTEC section removed -  The good doorcard waiting for the SiR trim  While the doorcards were out I fitted up the mirror covers which had been missing. Bought these NOS items from the US, again cost way more than two little pieces of plastic should, but they go brittle with age so buying second hand can be a false economy. They needed to be fitted with the doorcards off, so they've been sitting in my shed for months waiting for this day!   Once the doorcards were built back up they were handy to fit. As usual I replaced any trim clips to avoid rattling doorcards (as much is possible on a 33 year old Honda!) Quick clean up with an upholstery brush and some interior cleaner -   Next job - brakes! (again)
|
|
#66
09-17-2023, 06:53 PM
|
|||
|
|||
|
A short but meaningful update on this -
So I had a brake kit made up for the car by Iconic Design - wanted some more stopping power, but needed to fit under my 14's. They had a DC2 Integra caliper with a 260MM disk which was mocked up on a 14 inch wheel and fitted inside the barrel fine, with a side note that it might require a 5mm spacer. This was all in advance of the recent track day being run by the Alfa lads - and the hope was that apart from improving the braking, it would eliminate the slight waftiness I was feeling under hard braking.  Unfortunately though, while they just about clear my barrels (I think) they came nowhere near to clearing the faces of my wheels - they'll need either 10mm spacers and extended studs - which might still be a bit tight - or 15mm spacers with the studs built in. It was all too rushed for the track day, so they went back into the box and have remained there since. I could change to 15 inch wheels, but if I'd wanted to do that in the first place I wouldn't be going this route with brakes - plenty of off the shelf stuff would have fitted. I'm not a massive fan of the spacers route either, so am still mulling it over. also turns out my lower control arm bushes were shot - which explains the waftiness somewhat! Anyway - the track day was fun as expected - but the lack of power was a real killer (lack of driving skills on track didn't help either). I'd been told I'm way down on compression on two cylinders, and theres been occasional puffs of blue smoke when pulling away from a long idle - so I was facing into a top end rebuild at the very least. I'd also been pricing up mfactory diffs for it - and the box would need a refresh while that was being fitted up. Even if I pumped money into it to get that work done - it would still be a bit lacking in power on track. So um, a rash decision was made.... 
|
|
#67
09-17-2023, 06:54 PM
|
|||
|
|||
|
Have been lazy with the updates of late - this batch takes it more or less up to date. Nothing too substantial mind you.
First up was a pretty unnecessary retrofit - the high level rear brake light. Didn't particularly need it, but like being a completist when it comes this this sort of thing. Picked up the light itself from a US seller on eBay - removed the trim cover and it bolted straight up without any drama.  The trim cover has the markings in place to cut out for an additional trim piece -   Was pretty happy with my attempt at cutting it out with the dremel, but then I noticed some additional damage to the side of the part, and a missing tab for refitting it - so ended up ordering a fresher one - with a factory cutout - from the same seller on eBay Comparison between mine and the factory one -  Damage -  Main hassle with this job is feeding the 12v wiring up through the hatch - 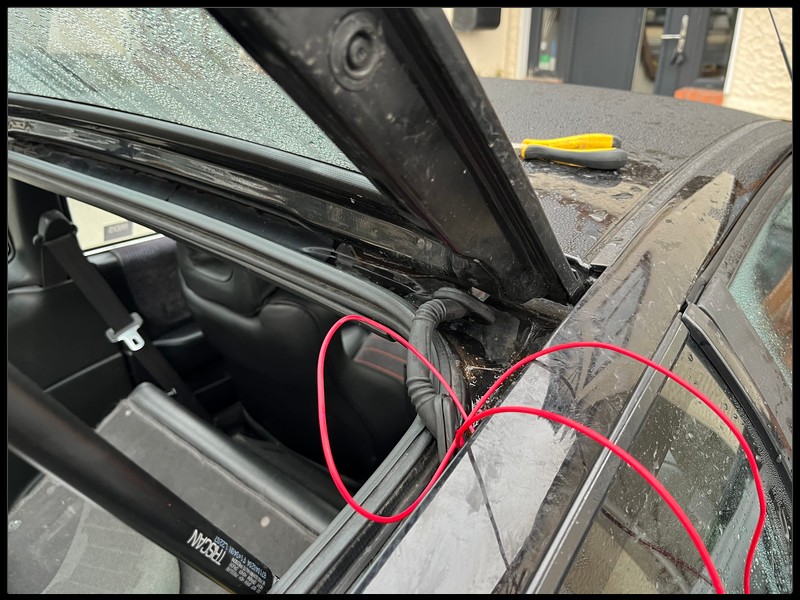 This grommet proved to be an invaluable halfway point for fishing out the wire -  Once that was done, it was simply a case of putting it all back together again   By rights, I should swap out the rear glass for a version with the brake light exposed, but it looks fine as it is for the moment. That might be a job for when I clear out everything else from the project list. Next up was me continuing on the completist approach - these armrests were a factory option, but most of the ones I'd seen come up for sale are Civic ones - they have a small ashtray at the rear of them. This one came with the original armrest lid, but it was slightly warped so I bought a 3D printed version and sent it off with my gear lever gaiter to Conlons to have them trimmed in leather.    While Karl was busy doing those bits I set about reversing some more jobs I'd done. I'd been doing enough driving in the car that the lack of decent sat nav was a (very minor) issue, and figured I'd swap over to a double DIN carplay unit. I will say at the outset - I made a balls of this, as I wasn't aware that double DIN units are occasionally different sizes. So the headunit was bought without even checking sizes etc - as well as a Tegiwa replica double DIN fascia for fitting it up. Was immediately obvious I had an issue, as the cage for the headunit came nowhere near to fitting the fascia. Image below shows how much material needed to come off it for the cage to squeeze in.  The dremel came back out again and I started cutting out the fascia to get the cage to fit - but also for the head unit front trim piece to fit properly too. It meant cutting into the fascia, but not al the way through because I needed a lip to remain for the cage to 'hold' onto.   It was difficult to get the right cuts into this without straying outside the original cut marks  Looked good  ...but there were some rough spots where I didn't sand the filler down enough   The front trim piece also didn't sit quite flush enough for me, so I kept working at it.
|
|
#68
09-17-2023, 06:54 PM
|
|||
|
|||
|
At this stage, I was worried it would let the interior down - so bought a genuine one from Japan thinking the fitting issue was down to a shonky quality Tegiwa replica
 That little bit of plastic ended up costing almost half to purchase price of the car... and the cage didn't fit. Exact same size at the Tegiwa one. I didn't want to butcher this so got back to the replica one and kept sanding! Eventually got it to a point where I was happy with it - whipped out the Besa textured paint again and it looked absolutely fine. When it came to fitting it up - I also put in a new centre console section - I decided to remove the heated seats from it. I never used them, and the non OEM switches started to do my head in.   Also meant fitting in the armrest - there is a factory bracket which can be used for fitting it, but they're impossible to get - and the guy I found who sold replicas was completely non responsive after I placed I order, so went with some improvisation  Also made a quick update to tie into the new carplay unit   And hey presto  As for current plans, the car is away having a more substantial upgrade done - but this should give you a good idea of what that involves  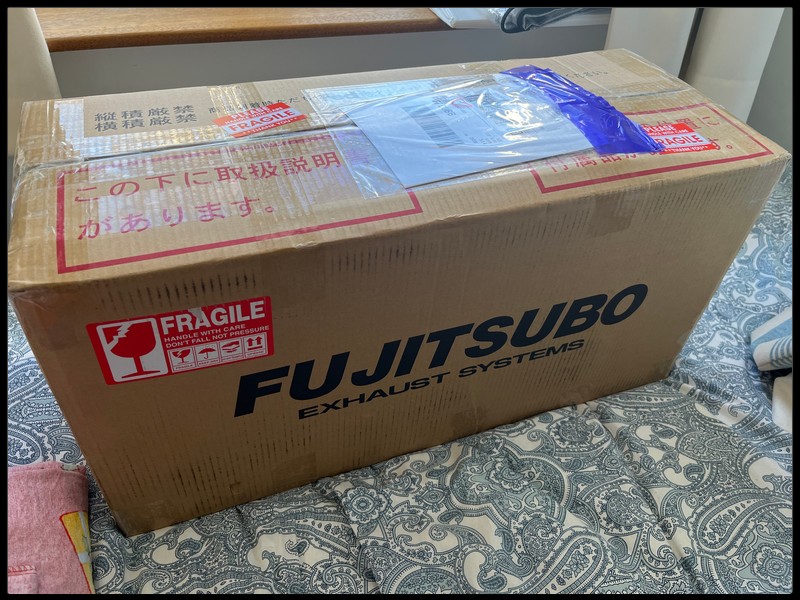 
|
 |
|
|


 Linear Mode

