|
#1
 03-30-2015, 09:58 AM
|
|||
|
|||
|
Since I could find no decent instruction online on how to remove these with out damaging them or the clips I set about having a look at an old shell I have for cuts:
I tackled the drivers side with an angle grinder so I could get a good look around the first side and see what Im dealing with.. 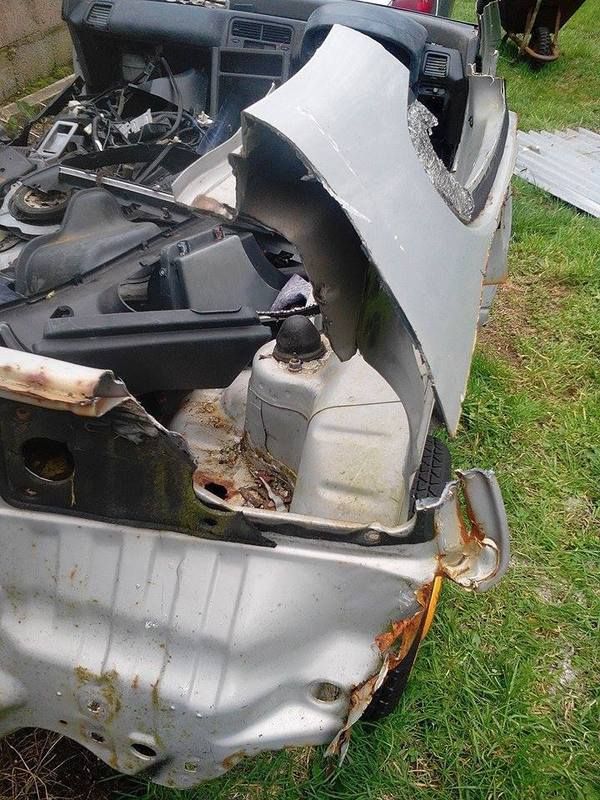  *If you are particularly rough the above method could work for you and you can stop reading now Here you get an idea of thats behind them: The triangles have three plastic threaded retainers 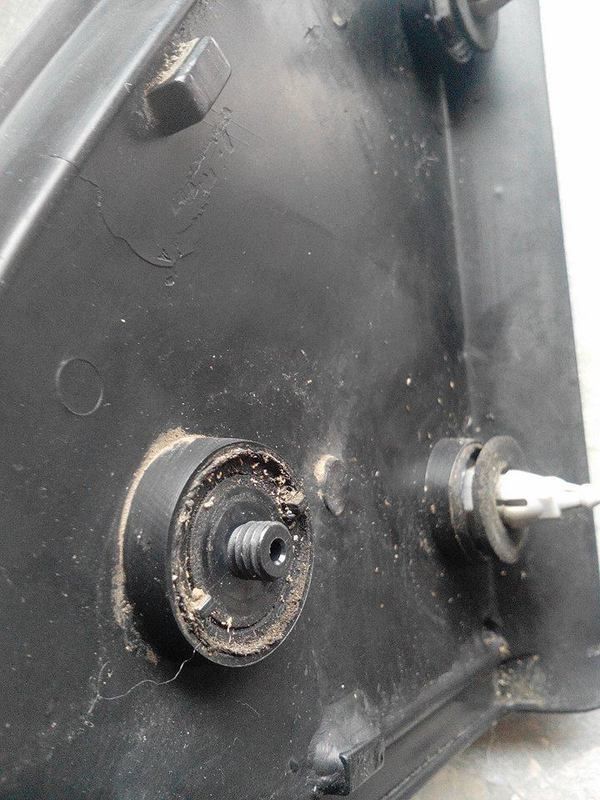 Onto these thread a grey plastic clip 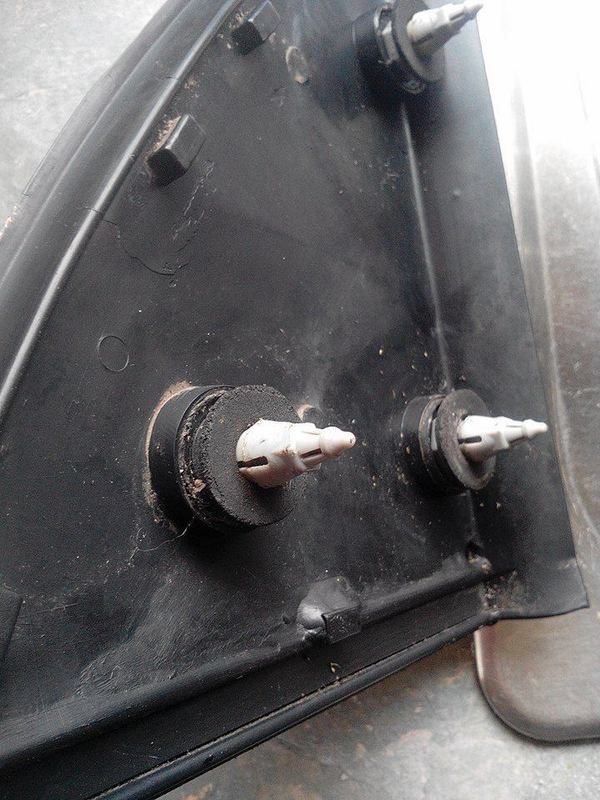 And they fit into three holes into the body 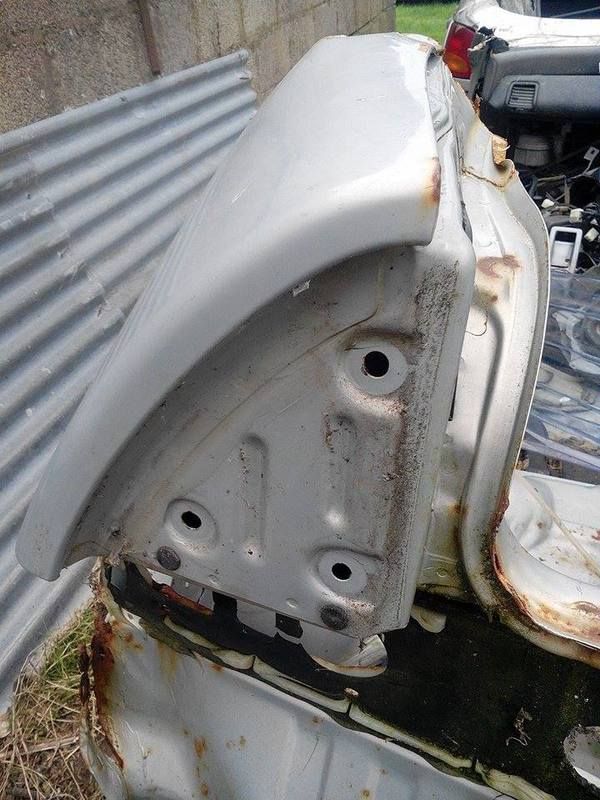 The grey clips clip in pretty tight to the body but can be rotated with a 7mm socket to release the triangle safely.. To do this you first need to get access to them: To get to the top clip you'll need to remove this plastic vent inside the hatch opening: 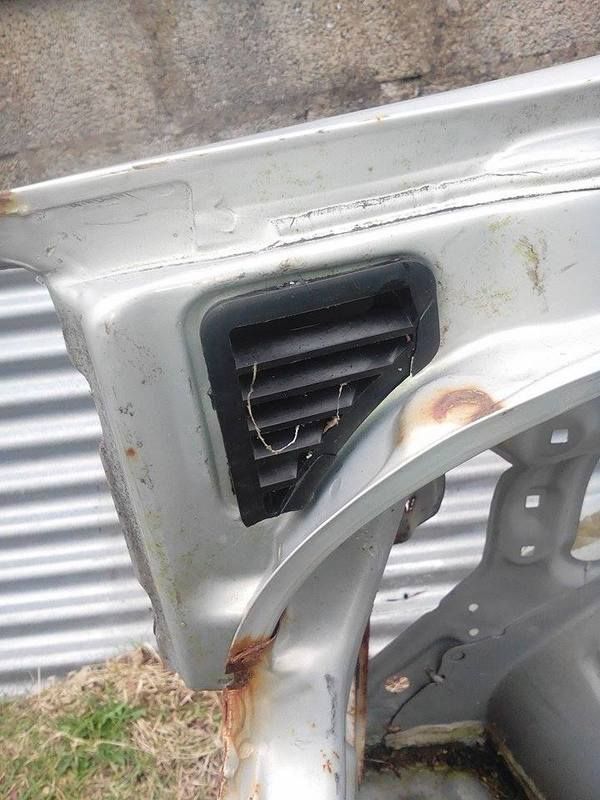 You can pry it off with a screw driver (there is 3 raised areas along the 3 longest edges of it) There is also sticky sh!tty sealer on it youll have to cut away as your taking it off 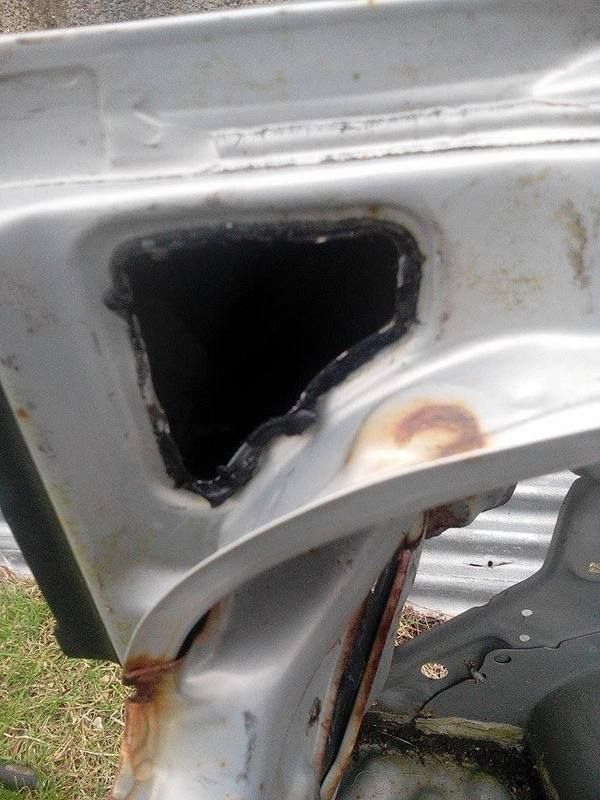 You now have access to the top clip and can get a 7mm socket onto it to unthread it from the triangle 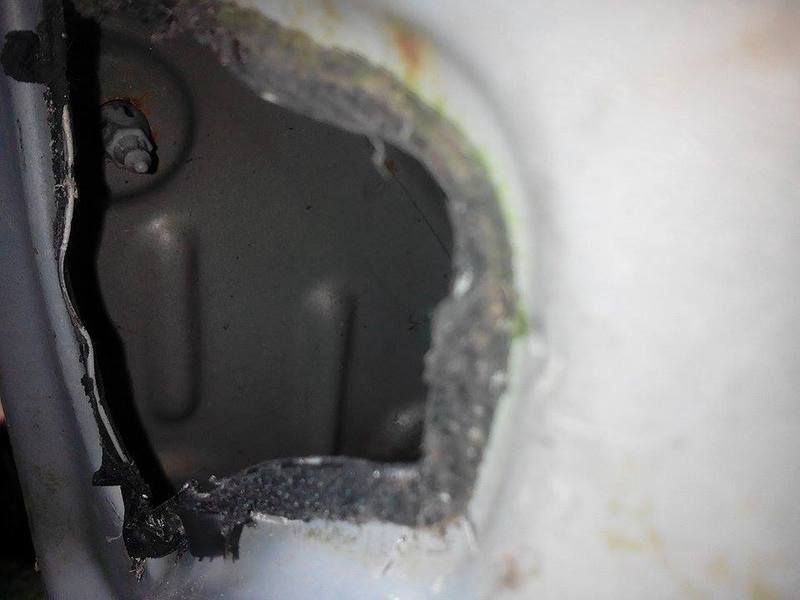 To get to the two lower clips you have to go inside the boot and get access to this point just above the rear lights (you may need to remove the whole rear quarter plastics Im not sure but this was on a shell so that wasnt an issue) 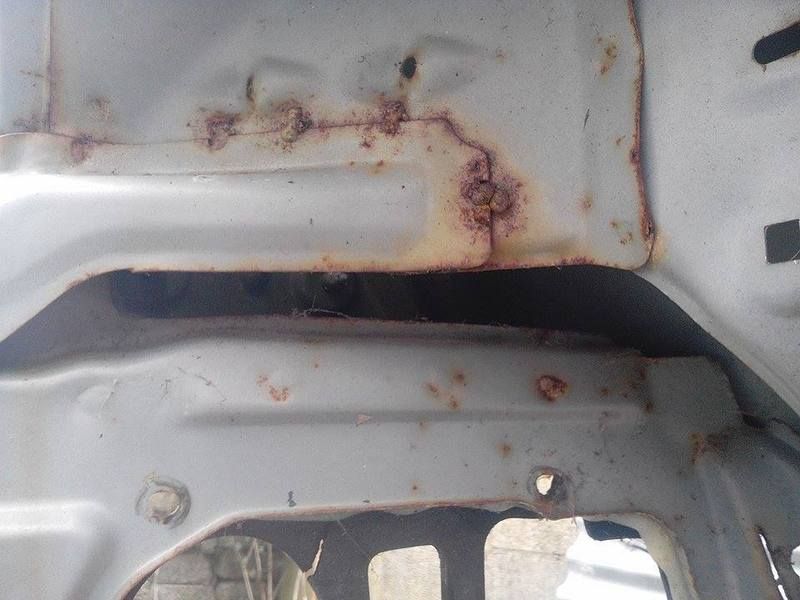 In here you can see the two lower clips, now with a long reach attachment on a 7mm socket both these should thread off the triangle (watch you dont thread it off and drop it on the ground) 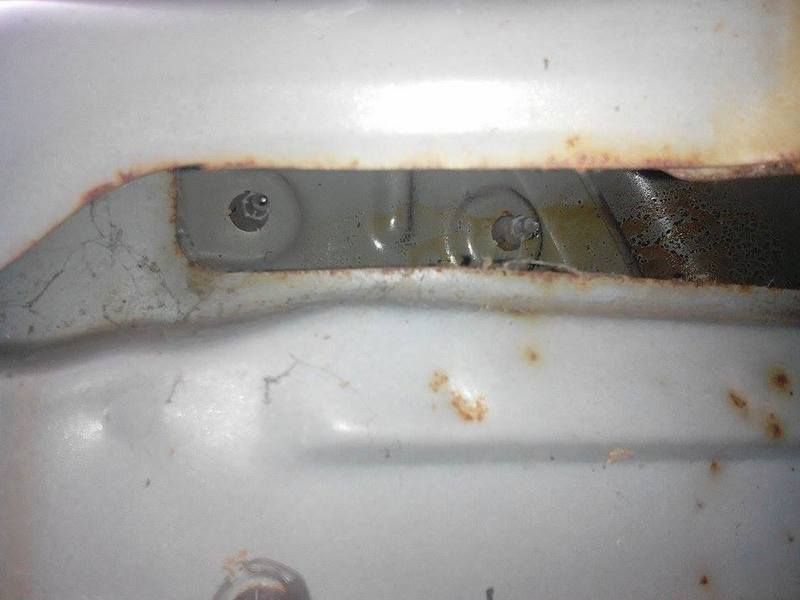 Now youve got the triangles off safely you should have saved the threaded part on them (which typically breaks and ruins them) and the three clips left in the body: 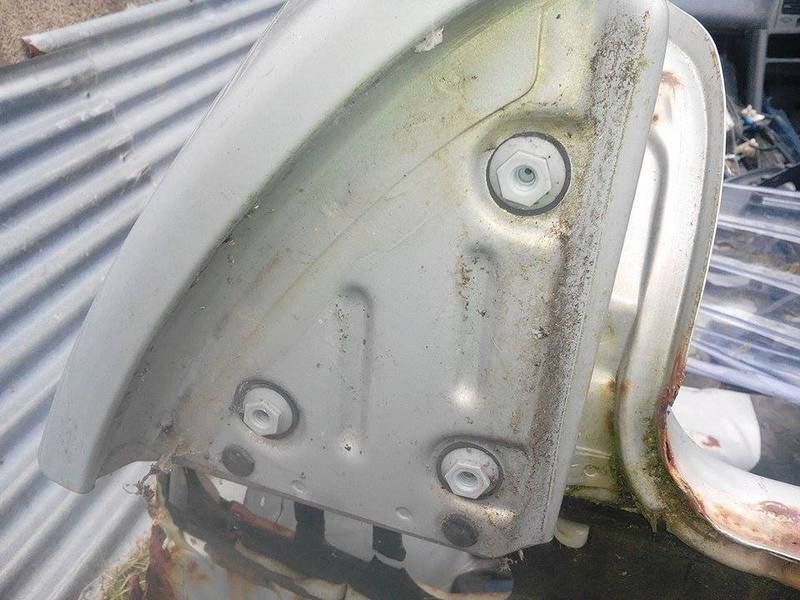 To remove the clips above I pushed on an 8mm socket over the rear of them to squeeze them in and pushed them out with a flat screwdriver. Thats how you can safely remove them without breaking them 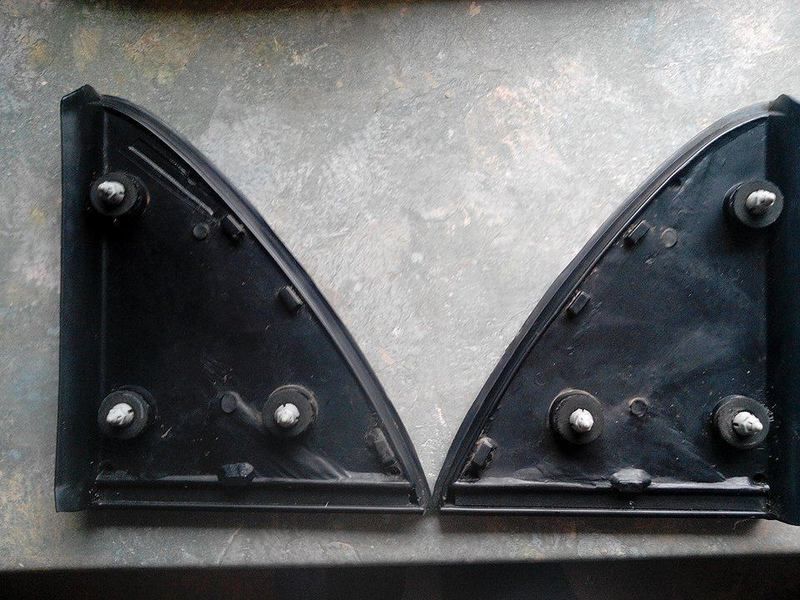 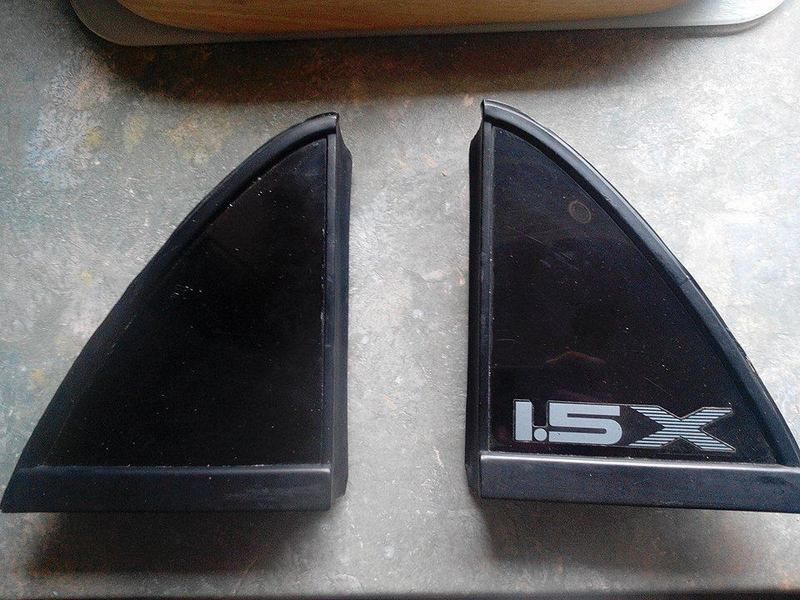 All this thanks to my old 1.5x that has given up its body for medical research 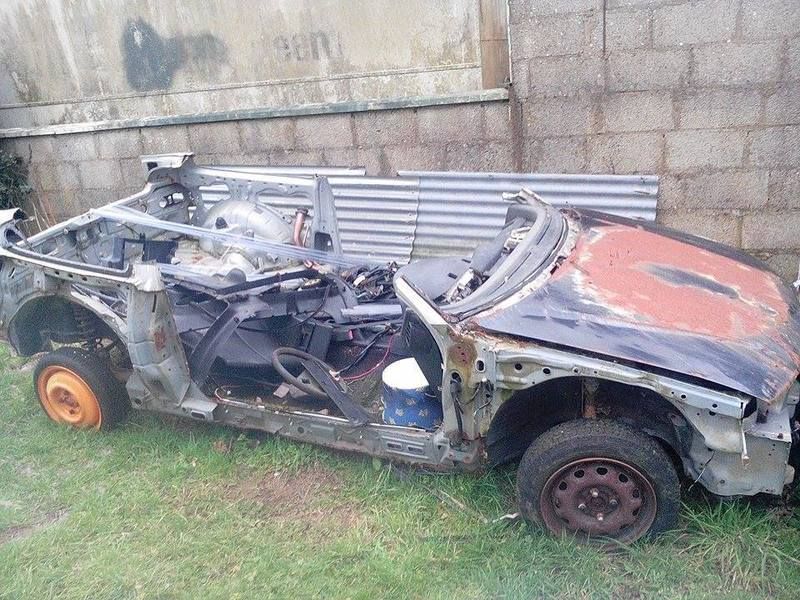 [/URL] [/URL]If anyone is after new ones the part numbers I can find online are: Left Triangle: 75555-SH2-J00 GARNISH ASSY.,L. EXTRA WINDSHIELD SIDE Right Triangle: 75550-SH2-004 GARNISH ASSY.,R. EXTRA WINDSHIELD SIDE Grey Clips: 75551-SH2-005 CLIP. EXTRA WINDSHIELD SIDE GARNISH Paul
__________________
Paul 91 Torino Red EF8 90 Torino Red EF6 
|
|
#3
04-23-2015, 08:41 PM
|
|||
|
|||
|
I fixed up some broken ones I had already so Ill throw up some pics of them too.. Im putting ones back on my CRX after a respray so was just curious on proper removal
__________________
Paul 91 Torino Red EF8 90 Torino Red EF6
|
|
#4
08-26-2015, 12:44 PM
|
|||
|
|||
|
Nice job! which CRX got the respray?
|
 |
|
|


 Linear Mode

